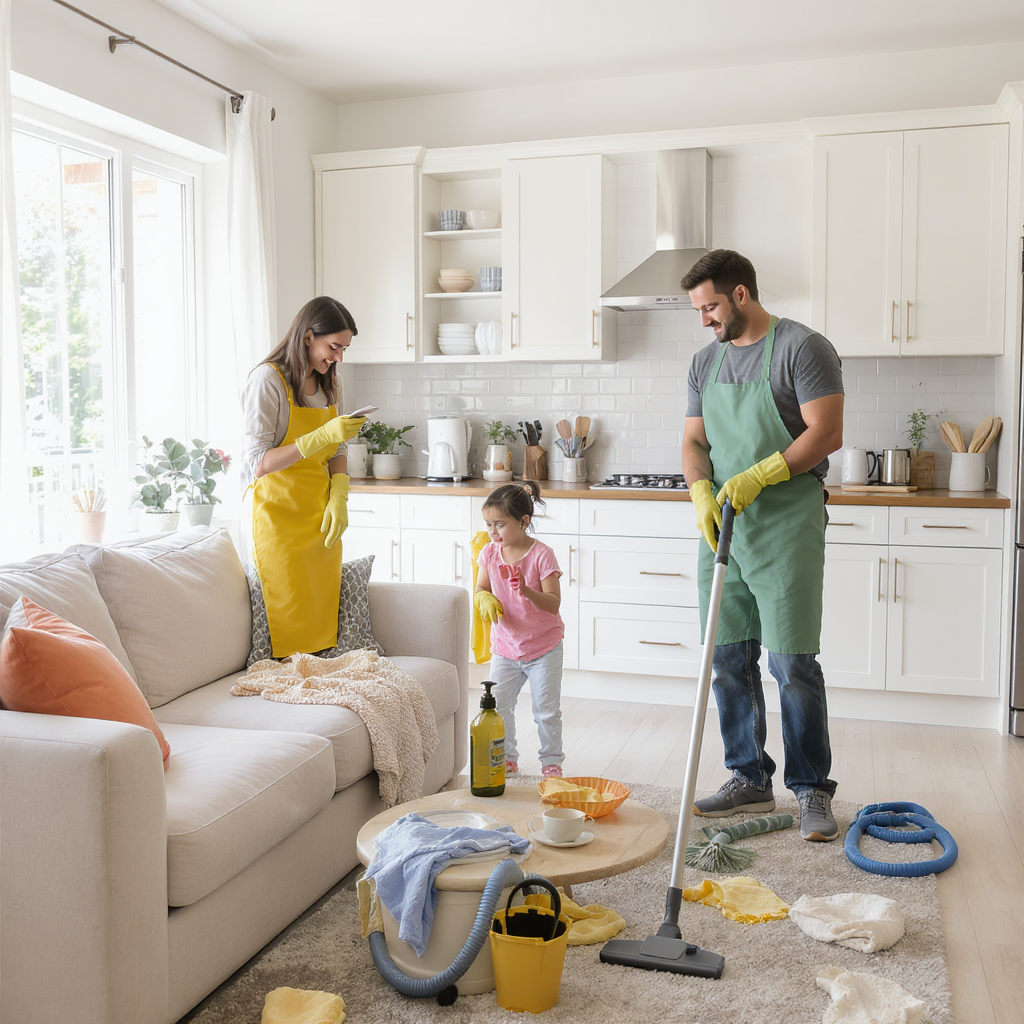
A newly renovated bathroom looks amazing in photos, but in real life it often comes with a lot of construction dust, grout haze, paint splatters and sticky residue. If you don’t clean it properly, you can scratch new tiles, damage grout or leave a cloudy film on glass and fixtures.
The good news is that, with the right step-by-step plan, you can safely clean your bathroom after renovation and enjoy that fresh, spa-like feeling you imagined.
In this guide, you’ll learn exactly how to clean a bathroom after renovation, which products and tools to use, what to avoid and how this process fits into your overall post-renovation and weekly cleaning routine.
1. Before You Start: Safety and Preparation
Bathroom post-renovation cleaning often involves fine dust and strong residues. Before you begin:
- open windows and doors for ventilation;
- wear a mask to avoid breathing in dust and chemical fumes;
- use gloves to protect your skin from cleaners and grout residue;
- if possible, keep children, pets and anyone with allergies away during cleaning.
If you’re cleaning multiple rooms after a remodel, it helps to follow a wider plan like this:
Post-Renovation Cleaning: Complete Guide to Make Your Home Move-In Ready.
2. The Right Products and Tools for a Renovated Bathroom
Using the wrong product can damage grout, tile, glass or metal finishes. Choose carefully.
Recommended tools:
- vacuum with brush attachment or soft broom;
- microfiber cloths (for glass, tiles, fixtures);
- microfiber mop or floor cloth;
- soft-bristled brush (for grout and corners);
- plastic scraper (for paint and silicone residue);
- buckets and spray bottles.
Recommended product types:
- neutral pH cleaner for general surfaces and floors;
- glass cleaner for mirrors and shower doors;
- tile and grout cleaner safe for bathrooms;
- specific grout haze remover (if needed, and safe for your tile);
- mild bathroom descaler for limescale (compatible with your surfaces).
If you’re unsure about which products are safest after construction, see:
Best Products for Post-Construction Cleaning (Without Damaging Surfaces).
3. Step 1 – Remove Construction Dust from Top to Bottom
Always clean from top to bottom, so dust doesn’t fall onto already-cleaned surfaces.
- Ceiling and upper walls
- Use a dry microfiber mop or duster with a long handle to gently remove dust from the ceiling and top of walls.
- Pay attention to corners and around the shower area.
- Light fixtures and vents
- Dust or vacuum exhaust fans and light fixtures.
- Wipe with a slightly damp microfiber cloth if needed.
- Cabinet tops and shelves
- Wipe the tops and edges of cabinets, shelves and mirror frames with a dry microfiber cloth first.
- Then pass a lightly damp cloth with a neutral cleaner.
If dust seems to return for a few days, that’s normal after a remodel. For more details on controlling post-construction dust in the whole home, read:
How to Remove Construction Dust from Your Home Safely.
4. Step 2 – Clean Tiles and Grout (Walls and Floors)
Bathroom tiles and grout often suffer the most during renovation, especially after new tile installation.
4.1. Start with dry cleaning
- Sweep or vacuum the floor to remove loose debris and dust.
- Use the vacuum’s brush attachment to gently clean dust from wall tiles and corners.
Avoid using water before removing as much dry dust as possible. Water plus cement dust can turn into a stubborn film.
4.2. Wash wall tiles
- Prepare a bucket with warm water and a neutral tile cleaner.
- Use a soft sponge or microfiber cloth to clean wall tiles from top to bottom.
- Focus on areas around the shower, tub and sink where grout and adhesive work were done.
- Rinse with clean water using a separate cloth if the cleaner requires it.
If you notice a cloudy film that doesn’t go away, it may be grout haze.
4.3. Treat grout haze (if present)
- Use a grout haze remover suitable for ceramic or porcelain tiles (never on natural stone).
- Follow the instructions carefully: dilute correctly, apply, let it sit for the recommended time and then scrub lightly with a soft brush.
- Rinse thoroughly with clean water afterward.
For a broader guide on floors after renovation (including bathrooms), see:
How to Clean Floors After Renovation (Tiles, Wood, Vinyl and Laminate).
5. Step 3 – Deep Clean the Shower or Bathtub Area
The shower zone is where renovation dust, grout and silicone residue tend to concentrate.
5.1. Glass shower doors
- Start with a dry microfiber cloth to remove loose dust.
- Apply glass cleaner or a specific shower glass cleaner.
- Wipe in vertical or horizontal motions with a lint-free cloth.
- For stuck-on residue, use a plastic scraper gently, keeping it almost flat on the glass.
5.2. Tile and grout in the shower
- Apply a bathroom-safe tile and grout cleaner.
- Scrub grout lines gently with a soft-bristled brush.
- Focus on corners and edges where dust and residue accumulate.
- Rinse thoroughly with warm water.
5.3. Bathtub or shower tray
- Rinse first to remove dust.
- Use a non-abrasive cleaner suitable for the tub material (acrylic, porcelain, fiberglass, etc.).
- Avoid rough pads or abrasive powders that can scratch the surface.
- Rinse well and dry with a soft cloth to avoid water spots.
6. Step 4 – Clean the Vanity, Sink and Countertop
New vanities and countertops can be easily scratched if you’re not careful.
- Empty the space
- If you have already stored items in drawers or cabinets, remove them so you can clean inside.
- Inside cabinets and drawers
- Wipe the interior with a dry microfiber cloth first to pick up dust.
- Follow with a cloth lightly dampened with neutral cleaner.
- Dry completely before putting items back.
- Countertop and sink
- Use a cleaner appropriate for your countertop material (quartz, granite, marble, laminate, etc.).
- For natural stone, avoid acidic products like vinegar or strong descalers.
- Clean the sink with a bathroom-safe cleaner, rinse and dry.
- Faucets and metal fixtures
- Wipe dust gently with a soft cloth.
- Use a mild, non-abrasive cleaner safe for chrome, stainless steel or matte black finishes.
- Avoid scouring pads or harsh chemicals that can damage the finish.
If you’re unsure about which products are safe for each surface, this guide will help:
Best Products for Post-Construction Cleaning (Without Damaging Surfaces).
7. Step 5 – Toilet and Small Details
Renovation dust also settles around and behind the toilet and small accessories.
- Toilet exterior
- Wipe dust from the tank, lid and base with a dry cloth first.
- Then clean with a bathroom disinfectant or toilet cleaner, following label directions.
- Toilet interior
- Apply toilet bowl cleaner and scrub with a toilet brush.
- Flush to rinse.
- Around and behind the toilet
- Use a small brush or cloth to clean the floor around the base.
- Pay attention to corners and areas where silicone or grout may have been applied.
- Accessories and hardware
- Clean towel bars, toilet paper holder, hooks and other metal pieces with a damp cloth and mild cleaner.
- Dry to avoid water spots or corrosion.
8. Step 6 – Final Floor Cleaning
After you’ve cleaned all higher surfaces, it’s time to finish the bathroom floor.
- Second vacuum or sweep
- By now, some dust and residue will have fallen onto the floor.
- Vacuum or sweep again to remove remaining dry particles.
- Mop with appropriate cleaner
- Use a neutral cleaner suitable for your floor tile.
- Mop with a microfiber mop, rinsing it often and changing water when dirty.
- Check for spots
- Inspect the floor under good light.
- If there is still a cloudy film or residue, repeat a light cleaning or, if needed, use a tile-safe post-construction cleaner.
For more detailed advice by type of flooring, review:
How to Clean Floors After Renovation (Tiles, Wood, Vinyl and Laminate).
9. Common Mistakes to Avoid When Cleaning a Bathroom After Renovation
Avoid these mistakes to protect your new bathroom:
- using very strong acids or undiluted bleach on grout and tiles;
- scrubbing glass and shiny fixtures with abrasive pads;
- mixing chemical products hoping for “extra power” (dangerous and unnecessary);
- skipping the dry dust removal and going straight to wet cleaning;
- using the same dirty water and cloths on all surfaces without rinsing.
If you want more guidance on what to avoid after a remodel, keep an eye on:
10 Post-Renovation Cleaning Mistakes to Avoid (and What to Do Instead)
(quando esse artigo estiver publicado, esse link vai reforçar ainda mais o cluster de pós-obra).
10. How to Maintain Your New Bathroom with a Weekly Routine
Once the bathroom is truly clean after renovation, a simple weekly routine keeps it fresh and prevents buildup.
A basic weekly bathroom routine includes:
- cleaning sink and faucet;
- scrubbing the toilet;
- wiping mirrors;
- doing a quick wipe of shower walls and fixtures;
- sweeping and mopping the floor;
- emptying the trash.
For a complete, home-wide weekly plan you can adapt, check:
Weekly Cleaning Routine: Simple Checklist to Keep Your Home Always Fresh.
By following this step-by-step guide, you’ll not only remove construction dust and residue from your bathroom but also protect your new tiles, glass and fixtures so they stay beautiful for years to come.
About the Author
About the Author
Pedro Neto is a home cleaning and organization enthusiast who helps homeowners transform freshly renovated spaces into truly move‑in ready homes. With practical experience in post‑renovation and deep cleaning, he shares clear, step‑by‑step tips to protect your finishes, improve your family’s comfort and keep every room clean and welcoming on a daily basis.
Disclaimer
Disclaimer
The content on this website is for informational purposes only and does not replace professional advice from cleaning, construction, health or safety experts. Before using any product, tool or technique for post‑renovation or house cleaning, always read the manufacturer’s instructions and, when in doubt, consult a qualified professional. The use of any information provided here is the sole responsibility of the reader.