After any renovation or remodel, it’s easy to feel overwhelmed by the amount of dust, debris and residue left behind. Even if the contractors did a basic cleanup, you’ll still find fine dust on every surface, paint splatters in unexpected places and protective films that need to be removed.
A good post-renovation cleaning checklist helps you stay organized, avoid doing the same work twice and make sure no room is forgotten. It also reduces the risk of damaging your brand-new finishes by using the wrong tools or products.
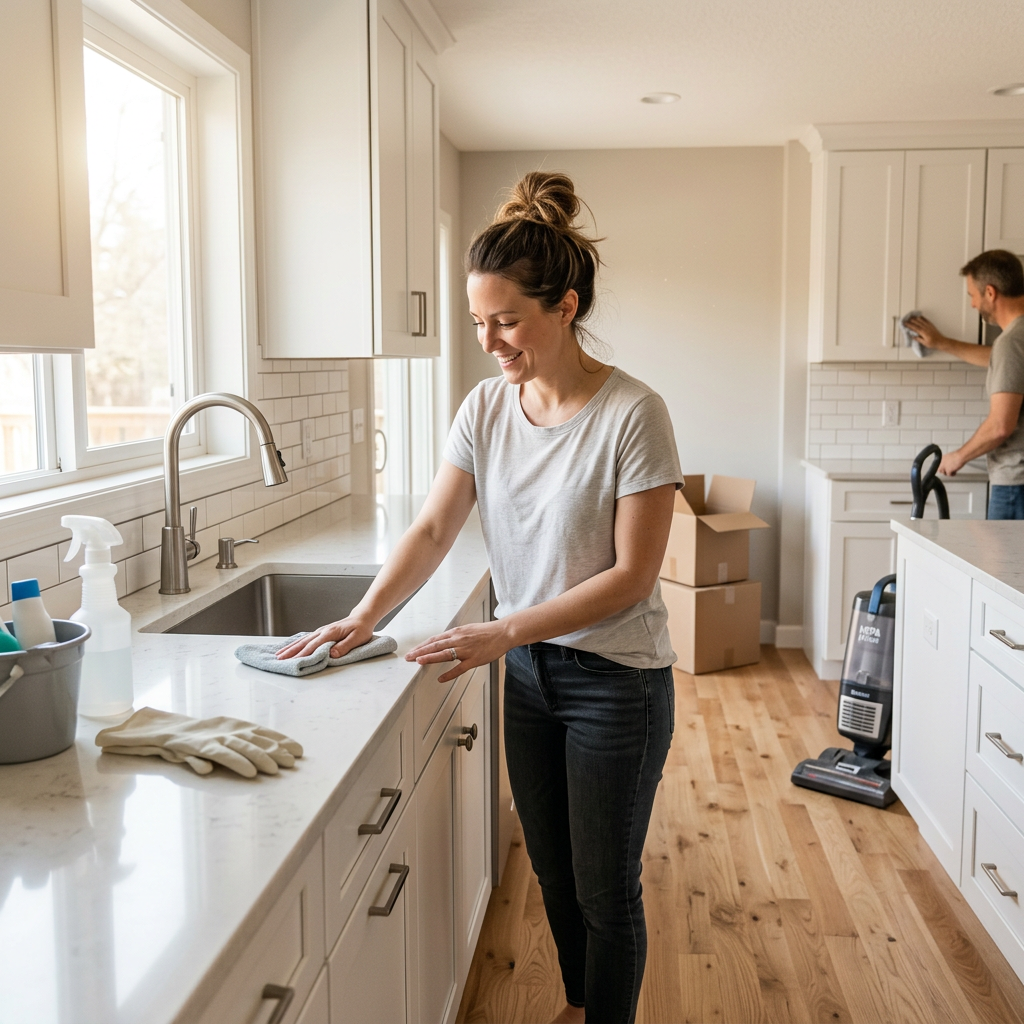
In this guide, you’ll find a practical, room-by-room post-renovation cleaning checklist you can adapt to any home. If you want a complete overview of the whole process, you can also read our detailed guide
to post-renovation cleaning here:
Post-Renovation Cleaning: Complete Guide to Make Your Home Move-In Ready.
1. Before You Start: General Post-Renovation Checklist
Before going room by room, it’s important to prepare the house and your tools. This will make the cleaning faster and safer.
General preparation checklist:
- [ ] Confirm that all major construction work is finished (no more sanding, drilling or cutting).
- [ ] Open windows and doors to ventilate the space and reduce dust and odors.
- [ ] Gather essential cleaning tools: vacuum with HEPA filter, soft brooms, microfiber cloths, buckets, spray bottles, plastic scrapers, mop.
- [ ] Separate specific cleaners for different surfaces (neutral pH cleaner, glass cleaner, appropriate post-construction cleaners).
- [ ] Put on protective gear: gloves, mask and, if necessary, safety glasses.
- [ ] Remove remaining plastic covers, cardboard and protective papers from floors and surfaces.
- [ ] Check for any nails, screws or sharp debris on the floor to avoid accidents.
Once this basic preparation is done, it’s time to move on to the room-by-room checklist.
2. Living Room and Family Room Checklist
The living room or family room is usually where dust and debris spread the most, especially if it connects to other areas.
Living room / family room checklist:
- [ ] Remove all large debris, packaging and leftover materials.
- [ ] Vacuum or sweep the entire floor, including corners and under built-in furniture.
- [ ] Dust ceilings, corners and crown molding using a long-handled duster.
- [ ] Wipe walls gently with a lightly damp microfiber cloth (if the paint allows it).
- [ ] Clean doors, frames and baseboards from top to bottom.
- [ ] Vacuum and wipe window sills, tracks and frames.
- [ ] Clean windows and glass doors with a glass cleaner and a lint-free cloth.
- [ ] Carefully remove any protective film from glass and aluminum frames.
- [ ] Mop the floor with a neutral cleaner appropriate for your floor type (tile, wood, vinyl, laminate).
- [ ] Inspect for paint or plaster splatters and remove them carefully with a plastic scraper.
By the end of this process, the living room should look visibly cleaner and free of most construction dust.
3. Kitchen Post-Renovation Checklist
The kitchen is a sensitive area because it involves food preparation, cabinets, appliances and often different types of surfaces (tile, stone, metal, glass).
Kitchen checklist:
- [ ] Remove all protective plastic from cabinets, countertops and appliances.
- [ ] Vacuum or sweep the entire floor, paying attention to corners and under cabinets.
- [ ] Clean cabinet exteriors with a soft cloth and a mild cleaner suitable for the material (wood, laminate, lacquer).
- [ ] Wipe the inside of cabinets and drawers to remove fine dust before storing dishes and cookware.
- [ ] Clean countertops with a product appropriate for the surface (granite, quartz, laminate, stainless steel).
- [ ] Remove any grout haze or cement residue from backsplash tiles using a suitable cleaner.
- [ ] Clean the exterior of appliances (refrigerator, oven, dishwasher, microwave) with non-abrasive products.
- [ ] Wipe light fixtures, switches and outlet covers with a dry or lightly damp cloth.
- [ ] Clean windows, glass doors and any glass cabinets.
- [ ] Mop the floor with a neutral cleaner and avoid flooding the area with water.
A properly cleaned kitchen after renovation reduces the risk of contamination and keeps your new finishes looking their best.
4. Bathroom Post-Renovation Checklist
Bathrooms tend to accumulate grout haze, cement residue and dust in hard-to-reach spots. They also have fixtures that can be easily damaged by harsh cleaners.
Bathroom checklist:
- [ ] Remove all construction debris from the floor and around fixtures.
- [ ] Vacuum or sweep the floor and corners, especially near drains and behind the toilet.
- [ ] Clean wall tiles and grout lines with a soft sponge and a mild or specific tile cleaner.
- [ ] Remove grout haze and cement residue carefully, following the manufacturer’s instructions.
- [ ] Clean the bathtub, shower base or shower floor, removing construction marks and dust.
- [ ] Clean the shower glass or door with a glass cleaner, removing watermarks and residue.
- [ ] Wipe sinks, faucets and metal fixtures with a soft cloth and a non-abrasive cleaner.
- [ ] Clean mirrors with a glass cleaner or a vinegar-based solution (if appropriate).
- [ ] Sanitize the toilet inside and out with a toilet cleaner and disinfectant.
- [ ] Mop the bathroom floor with a neutral cleaner, paying special attention to corners and grout.
Be extra careful with acidic products in bathrooms, especially if you have natural stone or delicate finishes.
5. Bedroom Post-Renovation Checklist
Bedrooms need to be free from dust to ensure a healthy sleep environment, especially after heavy construction.
Bedroom checklist:
- [ ] Remove any remaining construction materials, packaging and protective covers.
- [ ] Vacuum or sweep the floor thoroughly, including under the bed frame or built-in closets.
- [ ] Dust ceilings, corners, ceiling fans and light fixtures.
- [ ] Wipe walls gently where necessary, always testing the paint first.
- [ ] Clean doors, frames and baseboards.
- [ ] Clean window frames, tracks and glass.
- [ ] Wipe closet interiors (shelves, drawers, hanging rods) before storing clothes.
- [ ] Mop the floor with a cleaner appropriate for the surface type.
- [ ] If there is a carpet or rug, vacuum it slowly and thoroughly, possibly more than once.
Once the bedroom is clean, leave the windows open for a while to help remove any remaining odors and dust.
6. Hallways, Entryways and Stairs Checklist
These areas are often overlooked, but they act as “corridors” for dust and dirt spread.
Hallways, entryways and stairs checklist:
- [ ] Vacuum or sweep the entire length of hallways and stairs.
- [ ] Wipe railings, banisters and handrails with a soft cloth.
- [ ] Clean baseboards and corners along the walls.
- [ ] Clean entry doors inside and out, including handles and locks.
- [ ] Wipe any decorative elements, shelves or wall hooks.
- [ ] Mop floors with a neutral cleaner, being careful on stairs to avoid slipping.
Clean circulation areas help reduce the spread of construction dust to already-cleaned rooms.
7. Final Checks and Finishing Touches
After going through all rooms, it’s time for a final review to make sure no important detail was left behind.
Final checklist:
- [ ] Check if there is any remaining dust on high surfaces (tops of cabinets, shelves, door frames).
- [ ] Verify that windows and glass doors are free from streaks and residue.
- [ ] Inspect floors for paint drops, grout haze or stains that may need localized treatment.
- [ ] Make sure all trash and debris bags were removed from the property.
- [ ] Test light switches and outlets to confirm they are clean and working properly.
- [ ] Replace or clean air filters if your HVAC system was operating during construction.
With this final pass, your home will be truly ready to receive furniture, decoration and, most importantly, daily life.
8. How to Maintain Your Home After Post-Renovation Cleaning
Post-renovation cleaning is an investment in comfort, health and the longevity of your finishes. To avoid going back to that “construction site feeling”, it’s important to maintain a simple routine:
- create a weekly cleaning schedule that includes high-traffic areas;
- use doormats and encourage family members and guests to wipe or remove shoes;
- dust and vacuum regularly to prevent fine construction dust from resettling;
- use gentle products in day-to-day cleaning to protect new surfaces;
- periodically check windows, tracks and corners for dust buildup.
With a good plan and this room-by-room checklist, post-renovation cleaning becomes more manageable and your renovated home stays beautiful, safe and welcoming longer.
Informações finais no formato combinado
Foco de palavra‑chave (focus keyword):
post renovation cleaning checklist
Slug:
post-renovation-cleaning-checklist
Meta description:
Use this room-by-room post-renovation cleaning checklist to safely remove construction dust, protect new surfaces and make your home truly move-in ready.
About the Author
About the Author
Pedro Neto is a home cleaning and organization enthusiast who helps homeowners transform freshly renovated spaces into truly move‑in ready homes. With practical experience in post‑renovation and deep cleaning, he shares clear, step‑by‑step tips to protect your finishes, improve your family’s comfort and keep every room clean and welcoming on a daily basis.
Disclaimer
Disclaimer
The content on this website is for informational purposes only and does not replace professional advice from cleaning, construction, health or safety experts. Before using any product, tool or technique for post‑renovation or house cleaning, always read the manufacturer’s instructions and, when in doubt, consult a qualified professional. The use of any information provided here is the sole responsibility of the reader.